Experimenting with Experience 112
Table of Contents
eXperience 112 was a puzzle/adventure game released in 2008 by Lexis Numerique[1]. As the player, you were given access to a surveillance system connected to an abandonned ship-turned-laboratory where weird experiments were conducted in the 1960s.
Your goal was to help the only remaining scientist alive here, Lea Nichols, as she woke up from a coma, trying to understand what happened and to escape from the derelict ship. You could not control the character directly but rather through the surveillance interface. You would direct her attention by turning lights on and off while tracking progression on a map and with the help of cameras. Along the way you had to access the intranet of the lab to retrieve passwords, browse user files containing critical information, and control various robots and devices to help Nichols.
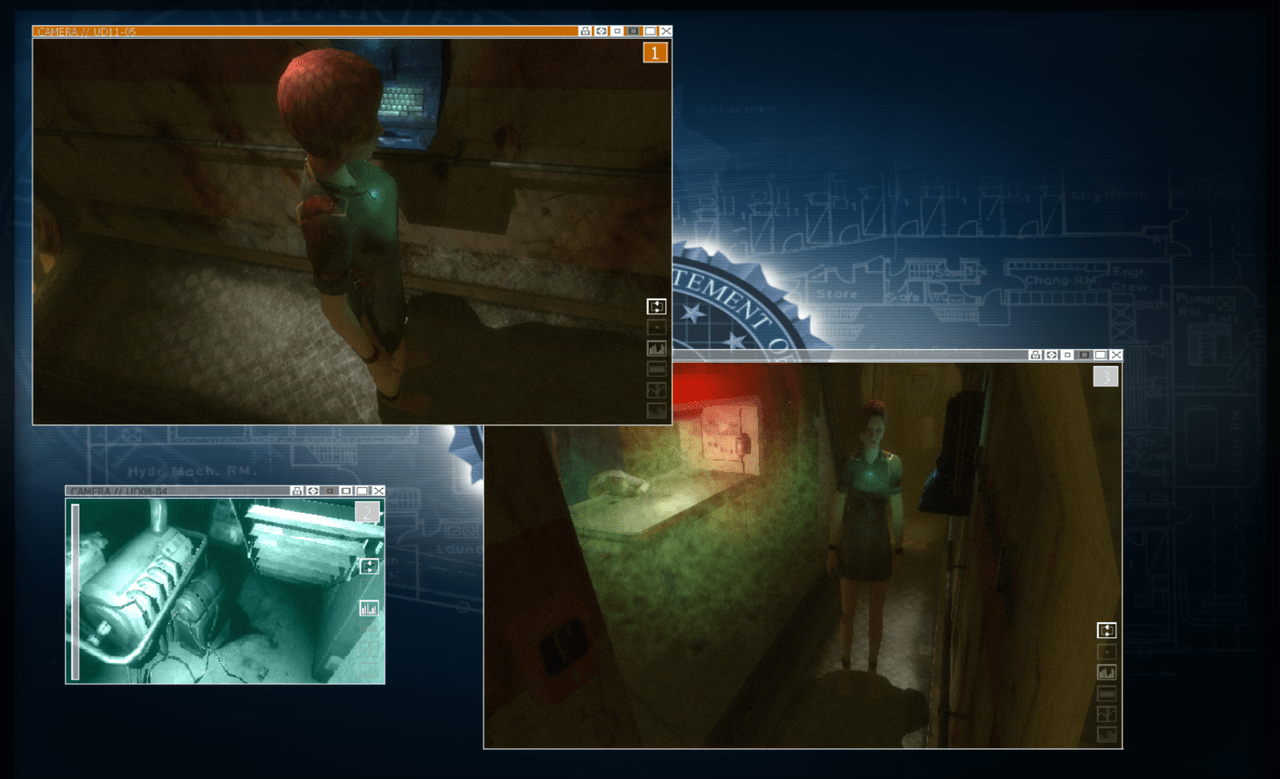
In practice, the game was played through a mock interface of the surveillance OS, with multiple window panels, and the ability to display up to three 3D views of the level through the surveillance cameras.
The game was probably slightly ambitious for its time, as the multi-viewport display was tough on the hardware. I recall my at-the-time quite powerful laptop running its fans at 100% while playing. The overall experience also suffered from a few glitches, usability issues and an unequal story rythm. Other games such as République and Observation have since revisited similar types of gameplay. But as many other games from the studio, it made a lasting impression on me at the time. In 2022, in a bout of nostalgia, I suddendly got the motivation to revisit the game. What better way than to try and explore the levels on my own, as I previously did for Uru Ages Beyond Myst?
This post will focus on parsing and extracting data from the game resources, documenting the layout, and detailing how the original game was rendering its levels. A future post might focus on rendering the same levels in a real-time viewer, using techniques that were not feasible at the time of the game release.
Before going further, I want to stress out that this was a game released on PC 15 years ago, by a team of approximately 30 people, on a custom engine. You know, different times.
Exploring the game data
General data layout
If we look at the content of the installation directory, we notice that the engine is split in separate DLLs each providing domain-specific functions.
> ls .
resources/         Uninstall/
engine.dll         eXperience112.exe  experience112.ini  game.dll           icon.ico
math.dll           media.dll          msvcp71.dll        msvcr71.dll        openal32.dll
physics.dll        Readme.txt         script.dll         sound.dll          system.dll
ui.dll             wrap_oal.dll
All resources are stored in the, you guessed it, resources directory, in packaged archives with the arc extension and a custom internal format.
> ls resources/
gamedata.arc graphics.arc movies.arc   scripts.arc  sound.arc
Fortunately, people online have already worked out the exact layout ([2],[3]), and getting the extractor to run was mostly a matter of adapting Windows-specific code. Once extracted, the game data is stored in a series of labeled sub-directories. Files are mostly using common formats, can be read and modified directly, and have descriptive names.
> ls resources-unpacked/
cursors/     effects/     fonts/       interface/   materials/   models/      movies/
musics/      physics/     scripts/     shaders/     sounds/      strings/     templates/
textures/    zones/
Most of these directories have straightforward names too:
cursors,fontsandinterfaceare related to the in-game graphical user interface,stringsis for the localized text content,scriptscontains the gameplay code,templatesandzonesare related to the levels themselves,physicscontains object collision data,materials,models,shaders,texturesare related to 3D graphics,effectsare for particle visual effects,movies,musicsandsoundsare self explanatory.
To be able to visualize the levels, we need 3D models, textures and materials to describe their appearance, levels to know how to lay them out, and shaders to know how to display them. If we dive deeper in the related subdirectories, we can classify the file extensions we encounter:
materials: MTLmodels: ANIMDEF, ANM, DDS, DFF, DMA, JPG, LUA, ME, MORPHDEF, RF3, TGAshaders: H, PS, VStextures: DDS, PNG, TGAzones: BSP, PNL, RF3, TXT, WORLD
Things look overall well sorted, except for the models directory that also contains textures, scripts, and delete.ME files?
You can see the game was made by a french team at a time where outsourcing was rare, many file names are a mix of french and english terms :)
Textures
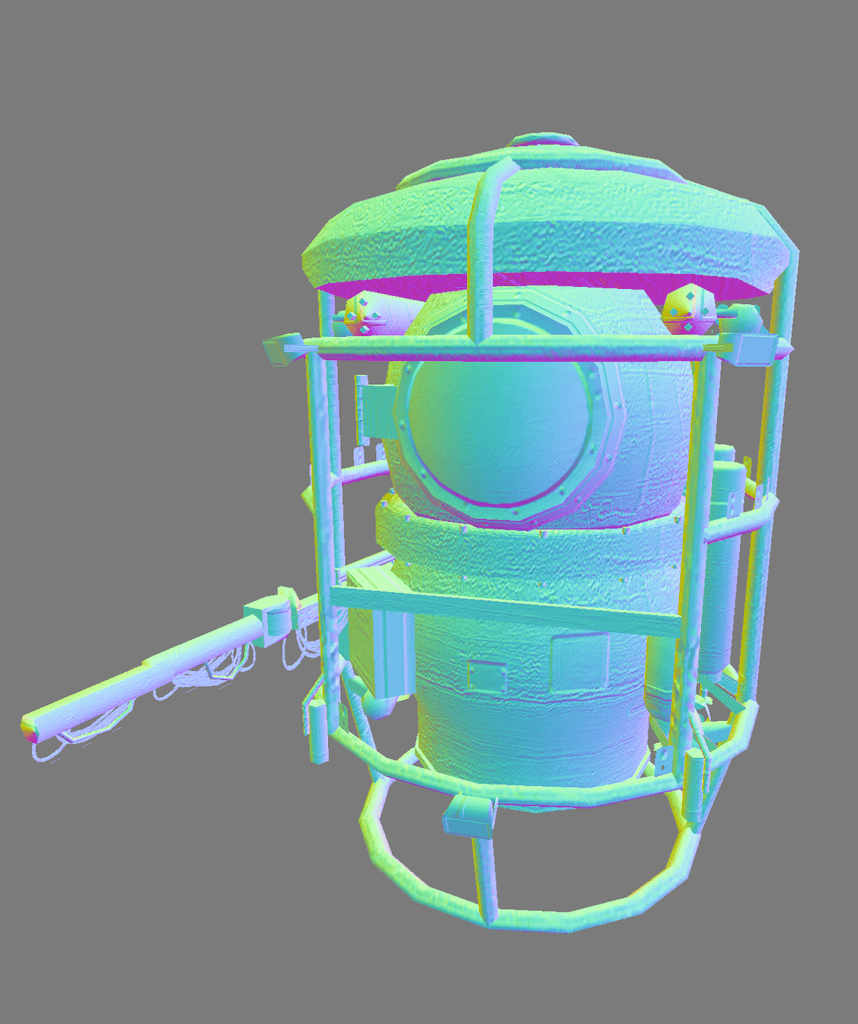
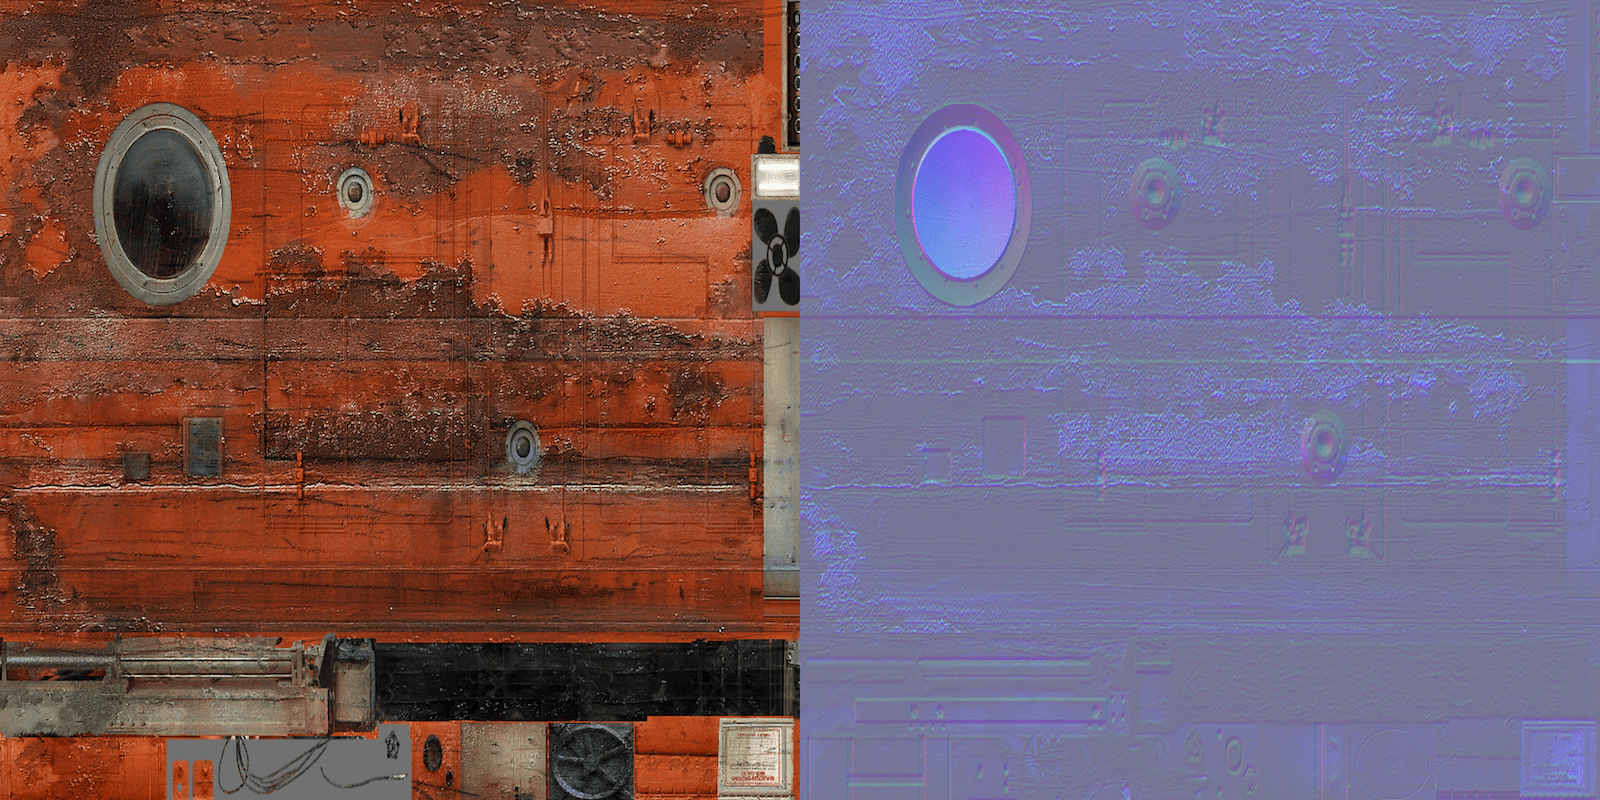
This is an easy one: textures are stored either as standard formats (PNG, TGA) or as DDS files (packed textures preprocessed and compressed for the GPU). Internally these use DXT compression formats, which are still compatible with modern graphic APIs and can be directly mapped to the BCn standard. We find a lot of pairs of diffuse and normal map textures with a shared name. Other textures are used for light projectors, and a few are look-up tables to speed up shading computations.
Models
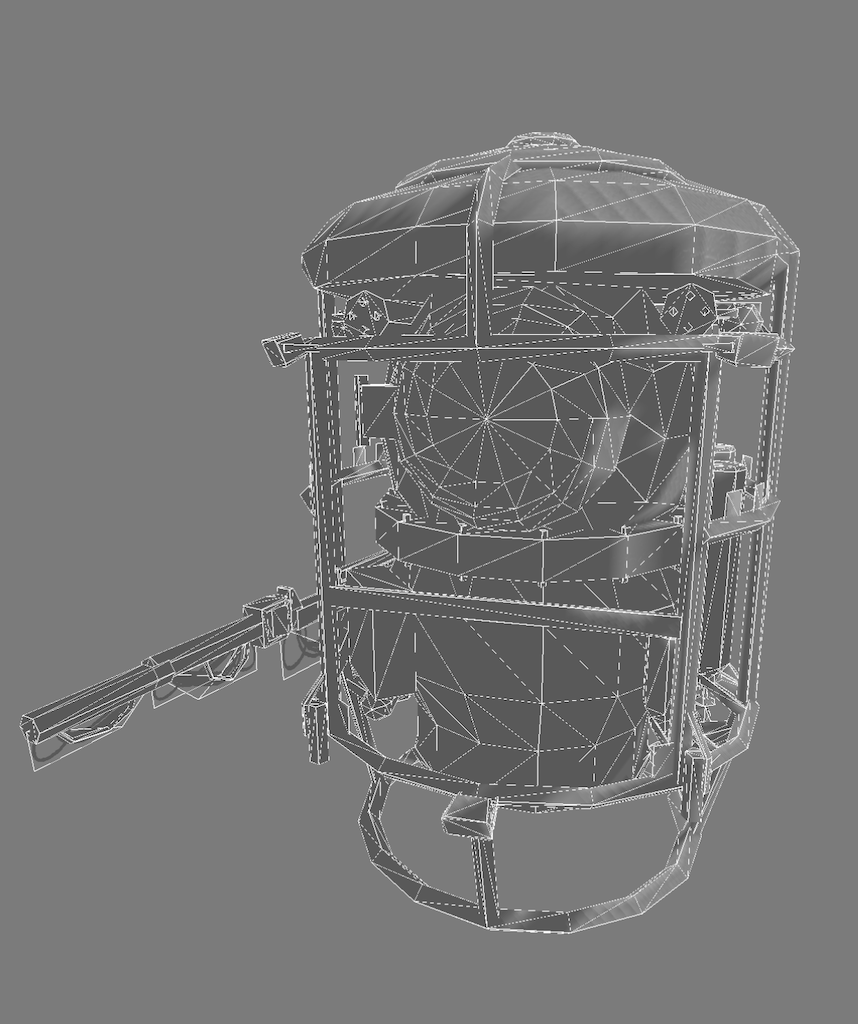
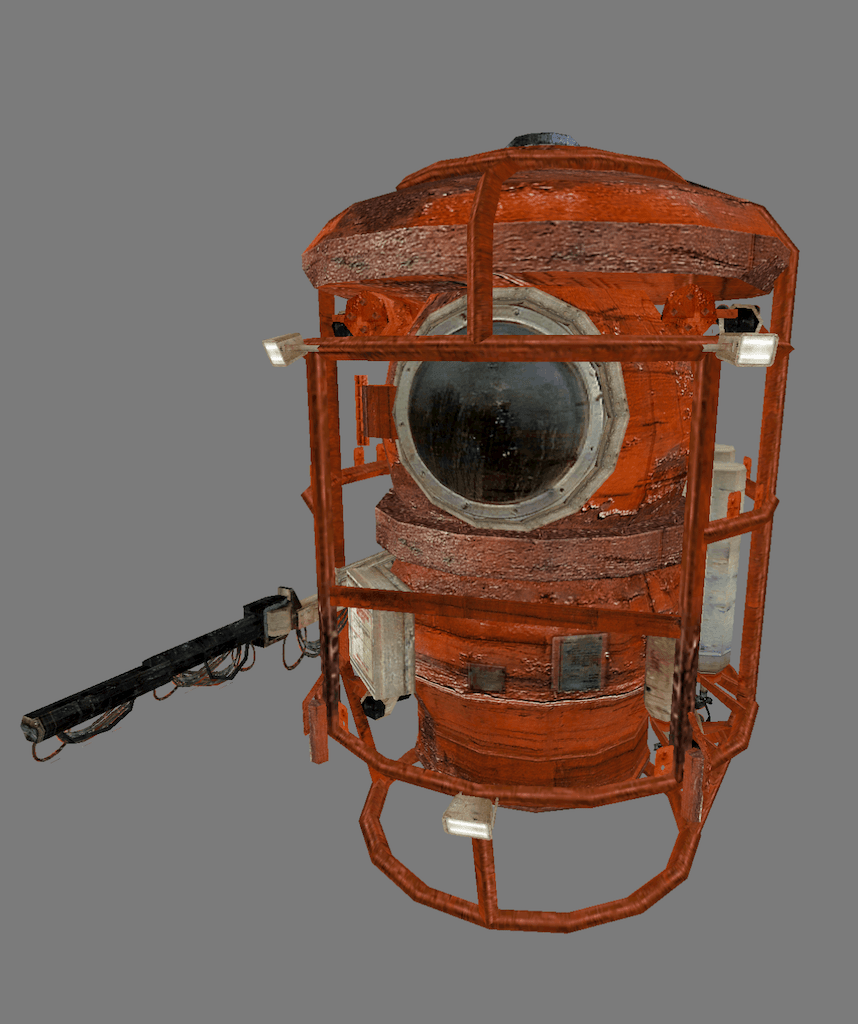
We find 3D models stored in DFF files, a format defined by the RenderWare engine. This engine was available from Criterion Games for licensing at the time (and many games in the 2000s relied on it). DFFs were used in eXperience 112 either because of existing tooling at the company or because it was a convenient out-of-the-box format for game assets. Fortunately, the format is quite well documented online on modding wikis. DFFs are mainly used in this game for props and entities that have multiple instances placed in levels. These files store binary lists of vertices and triangles, can also point to textures, define lights, animations, and be extended with custom elements. Here this is used to link to normal map textures alongside the regular diffuse textures. Some models also have a simplified texture-less copy in a separate file with the _proxy suffix, probably used for casting shadows.
Most other file formats in this directory are related to animation configuration and storage: ANIMDEF, ANM, DMA, MORPHDEF, I haven't explored these in details for now.
Materials
With what we have described above, most models contain enough information to render them as-is. Their textures and material parameters are already present in the DFF models. As a consequence, MTL files are only defining additional materials for lights and systems with animated or interactive effects (blinking, projecting a video, etc.).
Levels
We now move to the heart of the game data, the levels themselves. Each level is represented by one WORLD file that defines mutiple entities and areas as XML items. This is completed by a set of portals between areas, probably used for navigation and sound.
<?xml version="1.0" encoding="UTF-8"?>
<World version="0.15">
    <scene name="ct0306"
        sourceName="C:\experience112\bin\resources\zones\world\ct03_06.world">
        <param name="noiseColor" data="real[4]">(0.294118 0.294118 0.294118 1)</param>
        <entities> ... </entities>
        <areas> ... </areas>
        <portals> ... </portals>
    </scene>
</World>
Entities
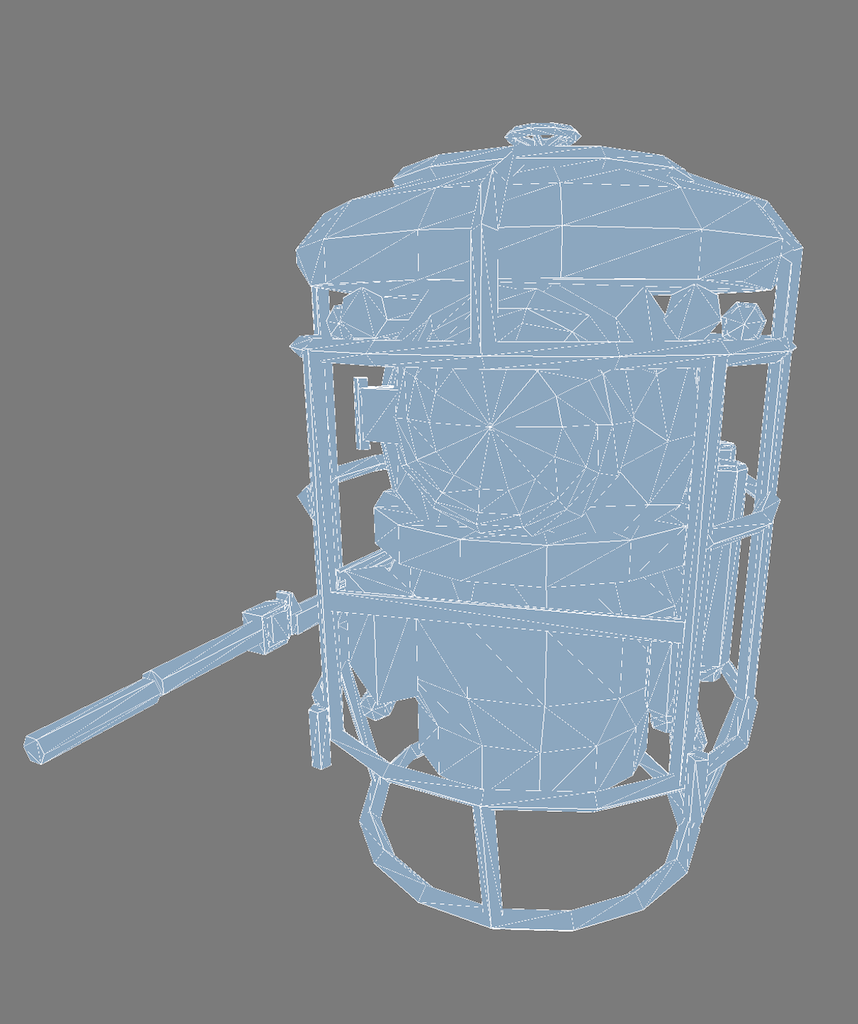
Entities are representing objects that have multiple instances placed in the level, or actors that are animated or interactive. These are usually referencing DFF model files described previously, and provide additional placement and interaction parameters. For instance, the submarine shown above is used in one of the WORLD files (ct03_06.world) as follows:
<entity>
    <param name="name" data="string">obj_bathiscaphe</param>
    <param name="position" data="string">30.9 625.6 607.5</param>
    <param name="rotation" data="string">0.0 -90.0 0.0</param>
    <param name="sourceName" data="string" >models\objets\bathyscaphes\bathysc_ok.dff</param>
    <param name="type" data="string">ACTOR</param>
    <param name="visible" data="string">true</param>
</entity>
Entities can also be lights, particle systems, cameras, or nodes for triggering scripts. Each type has its own set of parameters with often self-documenting names. As an example, a light can have the following parameters:
<entity>
    <param name="color" data="string">0.761 0.745 0.627</param>
    <param name="lightType" data="string">1</param>
    <param name="material" data="string"></param>
    <param name="modelPosition" data="string">0.0 0.0 0.0</param>
    <param name="modelRotation" data="string">30.0 0.0 0.0</param>
    <param name="name" data="string">light_casier_mancheck</param>
    <param name="position" data="string">-0.3 5.0 -39.0</param>
    <param name="radius" data="string">40 40 40</param>
    <param name="rotation" data="string">0.0 -135.0 0.0</param>
    <param name="shadow" data="string">0</param>
    <param name="sourceName" data="string" >Models\objets\lumieres\light_09.dff</param>
    <param name="switch" data="string">true</param>
    <param name="type" data="string">LIGHT</param>
    <param name="visible" data="string">true</param>
    <param name="link" data="string">casier_papier</param>
</entity>
and a camera the following parameters:
<entity>
    <param name="autorotation" data="string">1</param>
    <param name="cameraInitialRotation" data="string">45.0 115.0</param>
    <param name="cameraPosition" data="string">0.0 0.0</param>
    <param name="cameramodel" data="string"></param>
    <param name="cameranode" data="string">2</param>
    <param name="farZ" data="string">2200.0</param>
    <param name="fov" data="string">45.0</param>
    <param name="interactive" data="string">1</param>
    <param name="name" data="string">camera_ct03_01</param>
    <param name="nearZ" data="string">4.0</param>
    <param name="position" data="string">-1595.0 1050.0 315.0</param>
    <param name="rotation" data="string">0.0 0.0 0.0</param>
    <param name="rotationlimits" data="string">15.0 35.0</param>
    <param name="sourceName" data="string"></param>
    <param name="trackDist" data="string">500.0</param>
    <param name="type" data="string">CAMERA</param>
    <param name="uiName" data="string">CAMERA // CT07B-01</param>
    <param name="visible" data="string">true</param>
</entity>
Areas
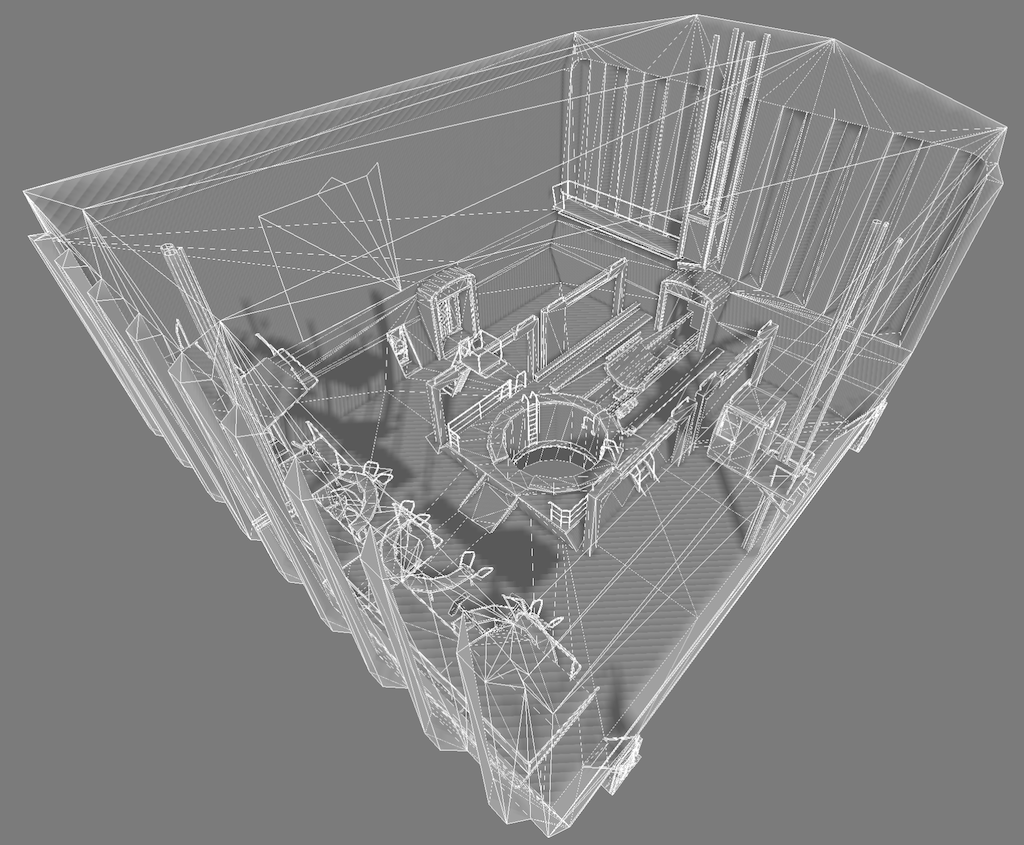
They represent large static regions of the level (entire rooms, furniture, large objects), and are each referring to a RF3 file along with ambient and fog parameters. The latter allow for a finer control of the overall atmosphere in the level based on the position of the camera. For instance, ct03_06.world declares the following area, referencing ct05.rf3:
<area name="ct05" sourceName="zones\cuves\ct05\ct05.rf3">
    <param name="ambientColor" data="real[4]">(0.027451 0.054902 0.054902 1)</param>
    <param name="fogColor" data="real[4]">(0.035294 0.074510 0.058824 1)</param>
    <param name="fogDensity" data="real">0.4000</param>
    <param name="hfogParams" data="real[4]">(0 1 0 0)</param>
</area>
These files also are XML, and their root element uses the keyword 'RwRf3'. This could be a reference to another RenderWare file format, but I have found no trace of it online. They do contain mentions of 3DS Max, where the levels were probably built. Multiple polygonal meshes with specific materials (diffuse texture, normal, shininess) are declared in each RF3, as XML lists of vertices and primitives. For instance, in ct05.rf3:
<group name="CT05_0101">
    <param name="localxform" data="real[3,4]">(1 0 0 )(0 1 0 )(0 0 1 )(30.1907 1421.96 0 )</param>
    <polymesh name="CT05_0101Shape">
        <vertexlist count="133">
            <format>
                <param name="id" data="int"/>
                <param name="position" data="real[3]"/>
                <param name="normal" data="real[3]"/>
                <param name="uv0" data="real[2]"/>
            </format>
            <v>0(-353.067 -1581.57 -0.000138265)(-0.727615 -2.01017e-008 0.685985)(-1.79683 0.00469369)</v>
            ...
        </vertexlist>
        <primlist shader="textures_metal_wall15vegetal" length="3" count="28">
            <p>87 4 49 </p>
            ...
        </primlist>
        ...
    </polymesh>
    ...
</group>
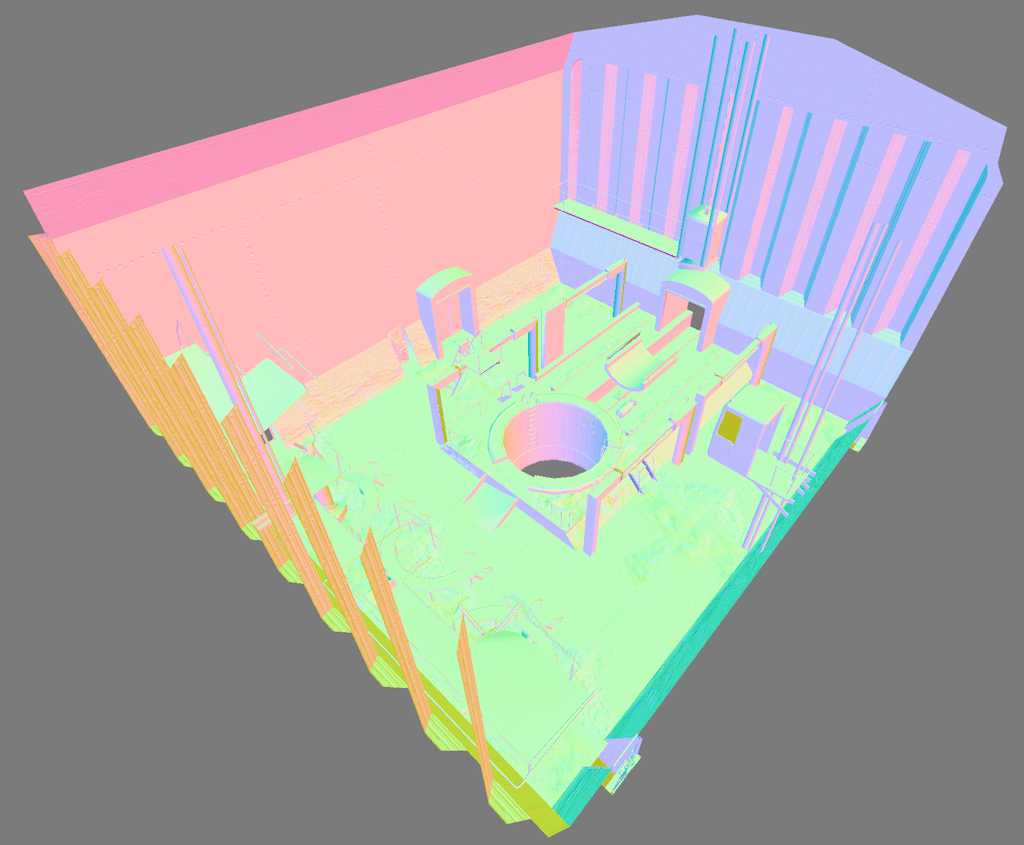
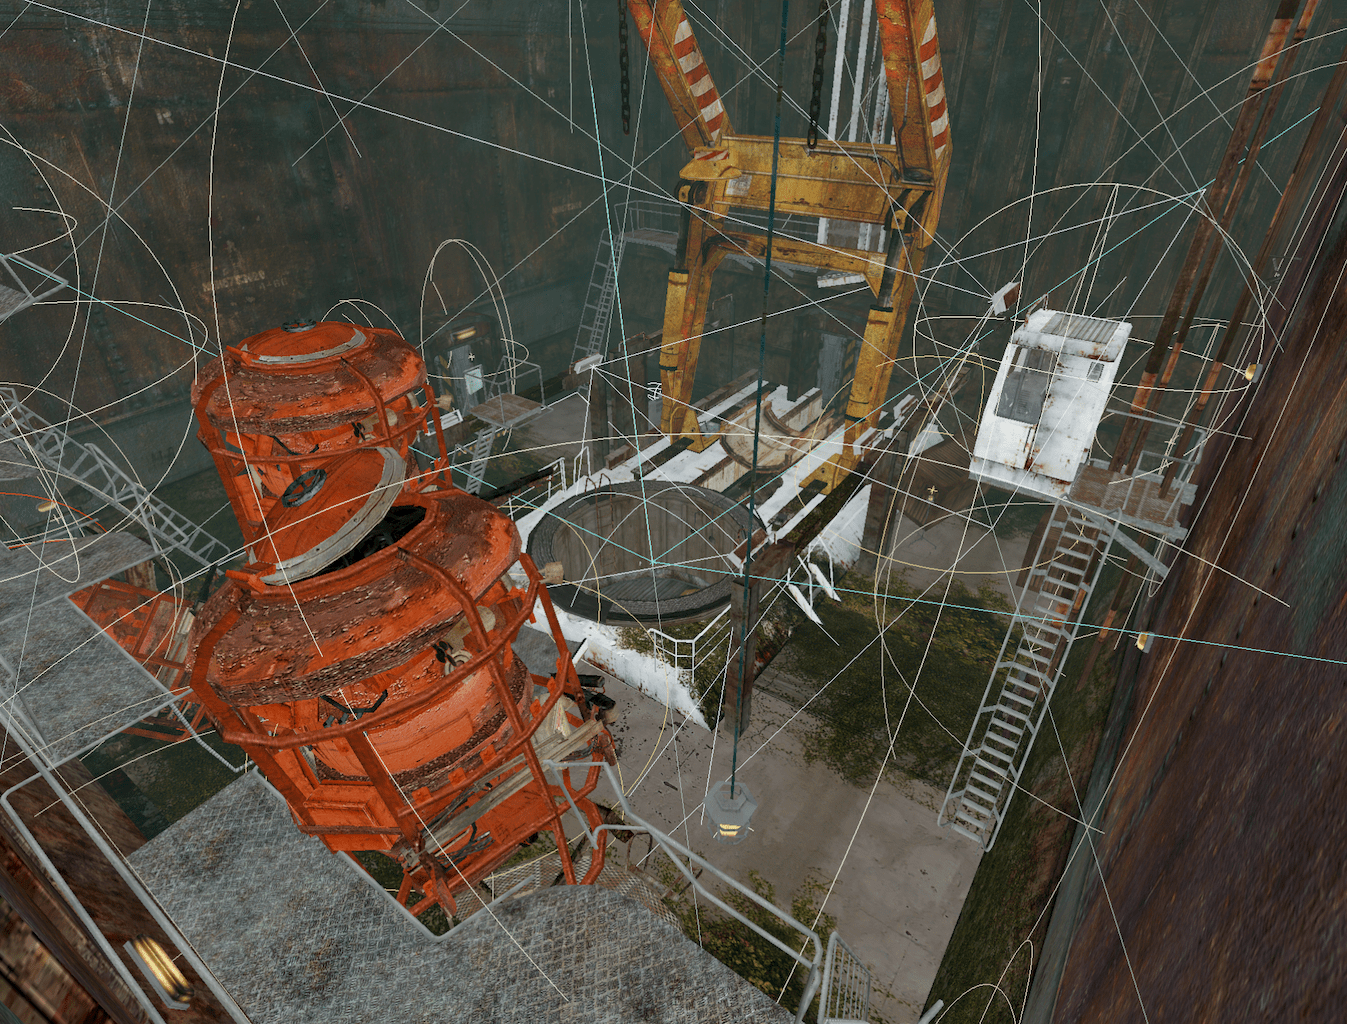
is part of this area definition:
Storing geometry in a human-readable format is less efficient than the binary storage of DFF files, but the geometry is coarse compared to entity models. Additional shapes are present in each RF3 and are probably used for shadows, distant meshes or physics.
Templates
The templates directory contains once again XML files that could be included in WORLD files. This mechanism allowed for predefined objects (an entity with a DFF, a light and its configuration, a portal triggering an event,...) to be reused in multiple levels easily. These seems to have been substituted into the WORLD files at some point during development, but were left in the resource packs and are still referenced in the objects they instantiated.
With all that, we have enough information to re-build a complete level with environments, objects, lights, fog, and everything the game supports.
Shaders
Shaders are small programs run directly on the GPU to display models on screen[4]. In the shaders directory, we find vertex (VS) and pixel shaders (PS) written in an old version of HLSL (a C-like language provided by DirectX). These source files can be read directly along with a few headers (H), and are probably compiled at runtime. Looking at the names, they can be broadly categorized in a few subsets :
- Objects with lighting: various types of lights can be applied on the surface of objects:
- Direct lights, such as spot lights, omni-directional point lights, and directional lights. The amount of light received by a surface is evaluated analytically using the Phong illumination model. Their contribution can be computed for each pixel, which is precise but expensive, (
fppl_spot,fppl_point,fppl_ambient,fppl_direct), or per-vertex and then interpolated by the hardware for a cheaper version (pvl_point). - Optimized light variations also exist, for instance shaders where the light attenuation falloff is computed in a separate pass (
ppl_spot_nofalloff,ppl_point_nofallofcombined withfalloff_spot,falloff_pointresp.), or shaders with no specular lobe (fppl_point_no_spec). - Some lights can also mimic a projector effect, by flattening a texture onto the surface of the object (
fppl_pointproject,fppl_direct_map,...). - Environment effect shaders, which recreate indirect lighting (
ambient,envmap) and atmospheric fog (fog/seafog).
- Direct lights, such as spot lights, omni-directional point lights, and directional lights. The amount of light received by a surface is evaluated analytically using the Phong illumination model. Their contribution can be computed for each pixel, which is precise but expensive, (
- Special objects, requiring specific vertex animations or additional color effects (
waterwave,heatcaster,mirror,unlit,water,...). - Shadows casted by objects, with precomputed (
shadow_direct_static,shadow_point_static) and dynamically generated shadow volumes (shadow_direct,shadow_point). We'll get back to that. - Post processing shaders, designed to apply effects over the entire screen, such as heatmap or night vision camera modes (
blur,underwater,nightvision,glow,dither,blacknwhite,sharpen,depth,heat,noise,...).
Sometimes multiple versions of the same shader are provided, targeting distinct API versions with different feature sets. For instance, blur_1_1.ps and blur_2_0.ps are two implementations of a fullscreen blur but the former is drastically simplified with fewer, hardcoded samples.
In the next section, we will see how a frame is rendered by the game and how the various shader sets are used in different drawing passes.
Additional observations
A few other pieces of information to document the game data:
- Most animations are vertex animations, where a list of displaced positions is stored for each keyframe of the animation. There is apparently no skinning data, which would be the 'modern' approach. ANIMDEF files also tie sounds to each animation.
- The many interfaces of the game are defined in a custom XML format, which should not be a suprise by now.
- Particle effects are configured using a fixed set of parameters, in a FXDEF file. This file format (another XML) is also specific to the engine.
- Collisions are defined as geometric shapes in additional RF3 files.
- SNDEF files define collection of audio samples for footsteps on different surfaces.
- Videos are precomputed sequences with higher quality assets and lighting than in-game, but are quite low resolution. Audio tracks are stored separately in OGG files.
- Gameplay and menus are scripted in LUA, and some of the C++ engine functions are exposed via bindings.
- PNL files define the navmesh[5] of a level as a graph where edges are labeled with sound information. Scripts and clips can be triggered when the player enters a node.
With that, we should have enough information to load levels and turn them into interpretable data in the future. But loading data is only half the job: how is the original game rendering its levels?
Rendering a frame
To better understand how the game is rendering a frame, we can use tools designed to capture every call to the GPU driver performed while the game is running. Tools such as Renderdoc or PIX are incredibly useful when debugging computer graphics projects. But eXperience 112 relies on the older DirectX9 API, for which captures are a bit cumbersome to achieve. I've managed to get results using apitrace, by writing additional tooling on top to be able to isolate a single frame and examine its data and draw calls more flexibly[6].
Overview
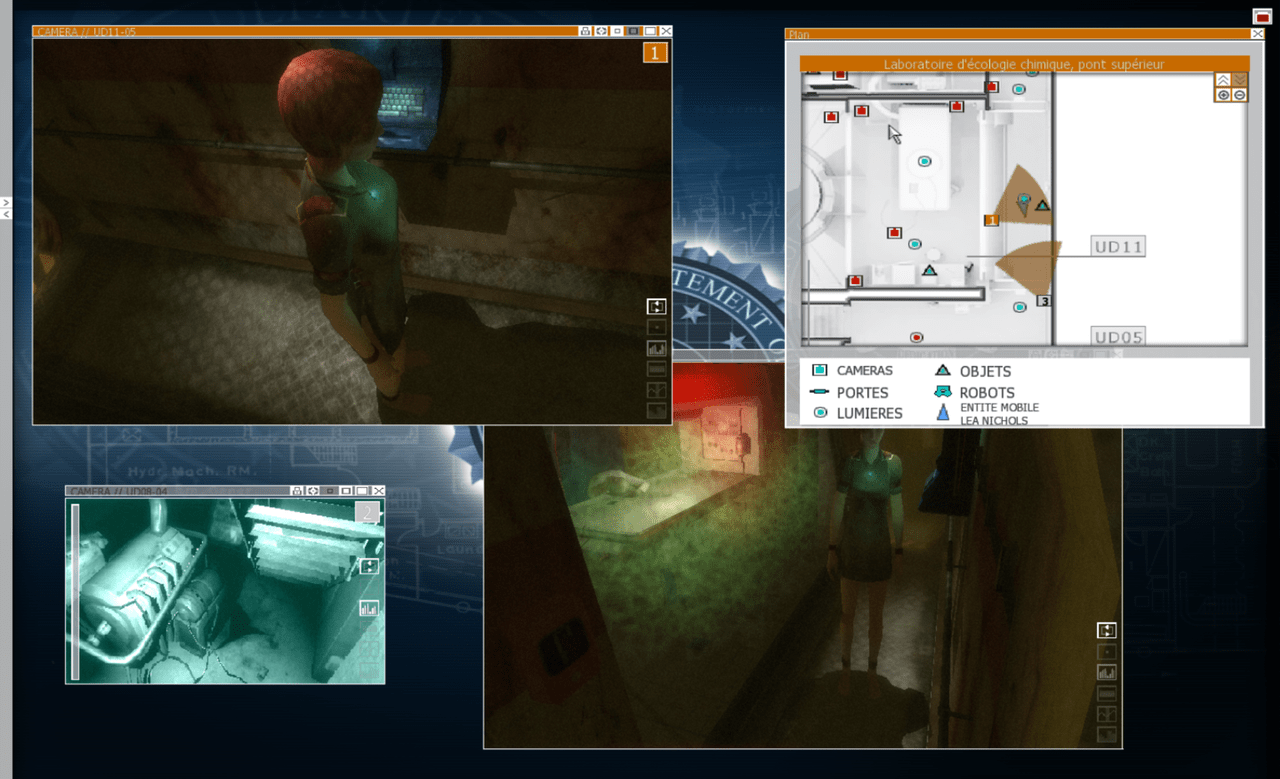
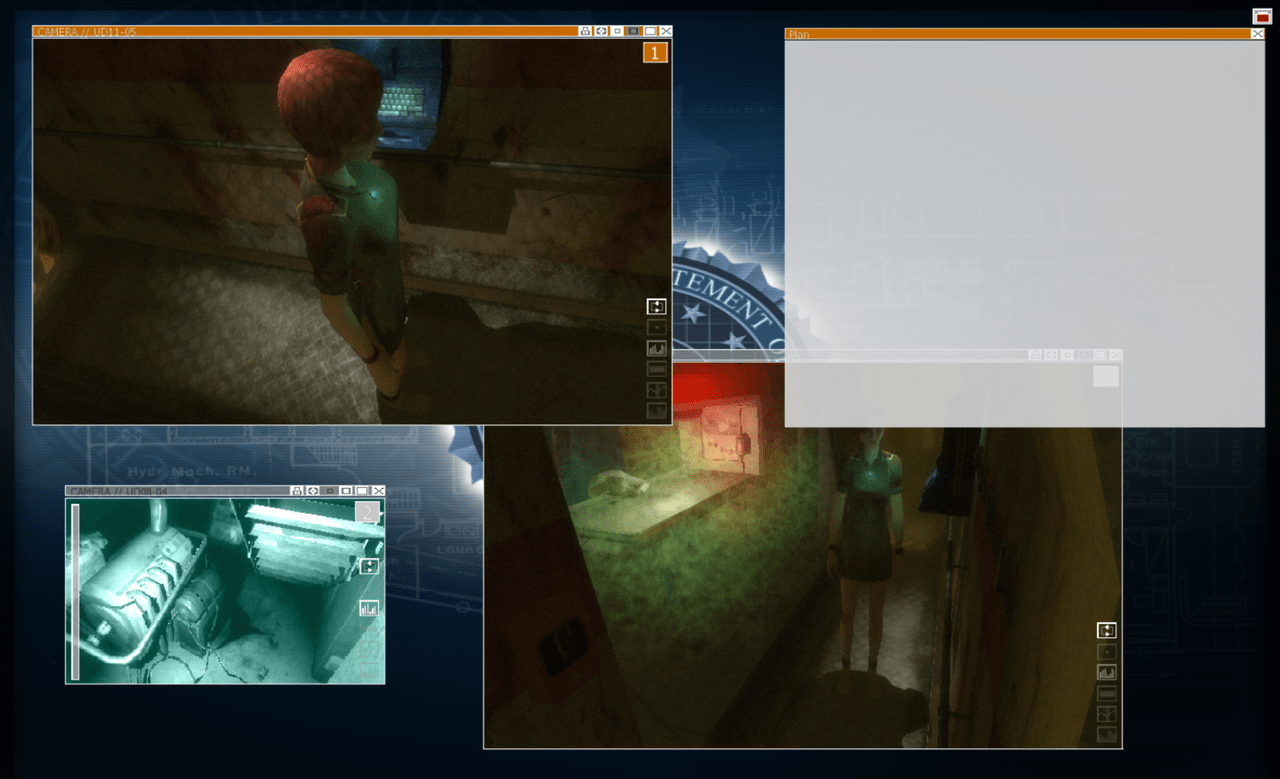
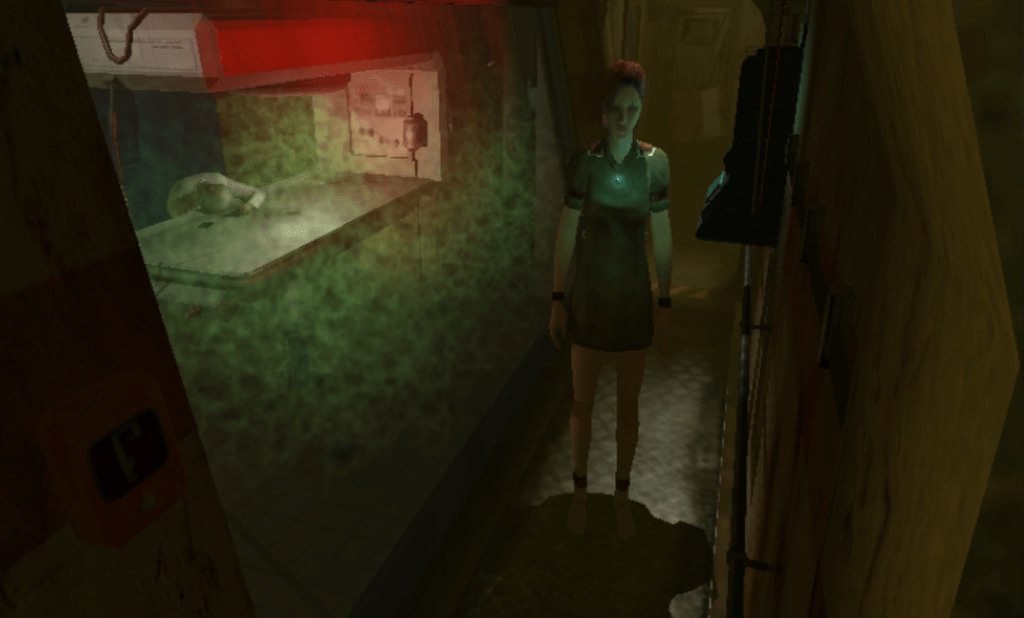
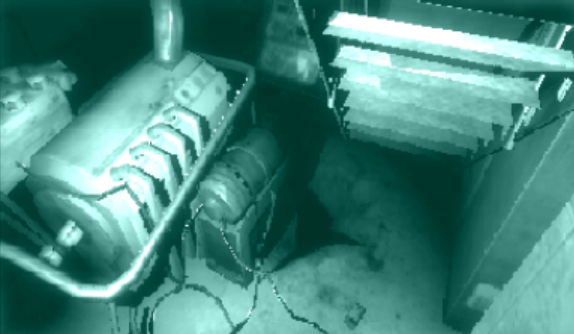
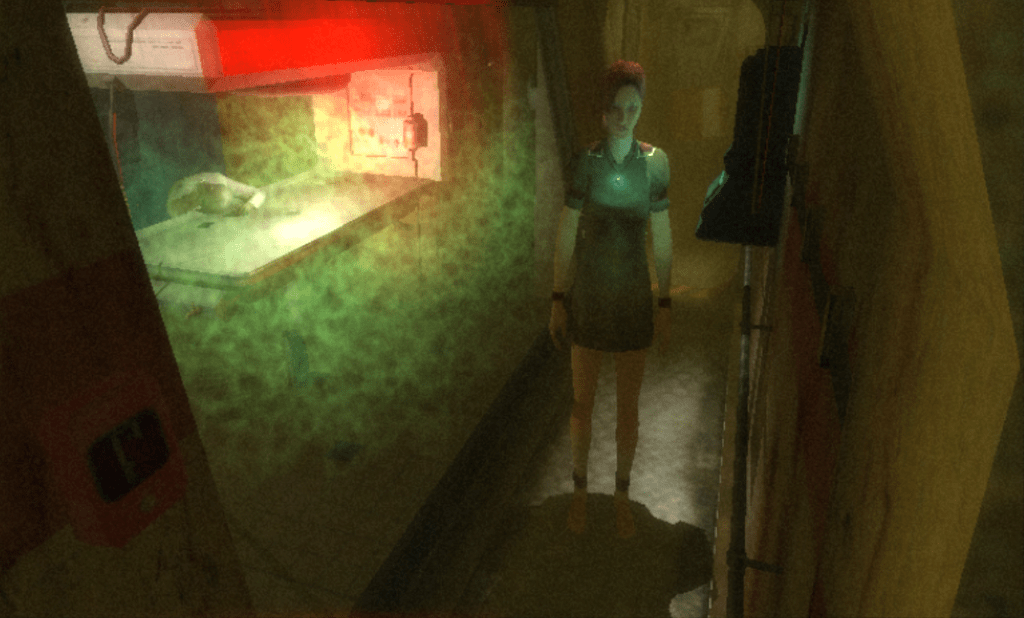
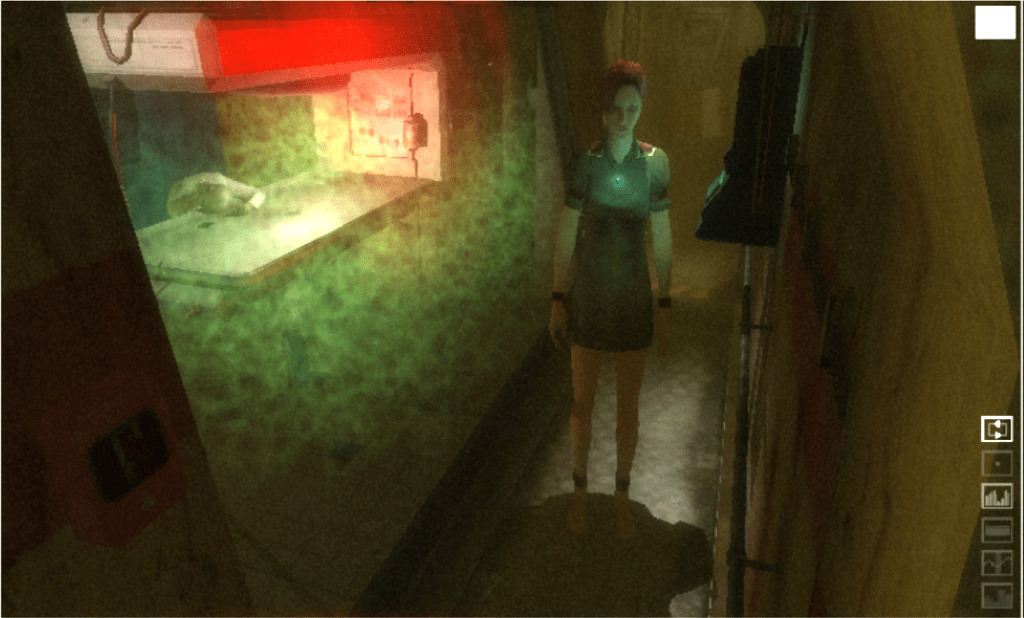
We'll have a look at the following screen. This is in-game, with three surveillance cameras enabled. Two are looking at Nichols and her surroundings; near her is an experimentation room closed by glass windows and filled with gas, with a blinking red alert light. A third camera view is monitoring another room in the level, in night vision mode. An additional GUI panel is displaying the map of the level.
After stepping through the calls performed during the frame, the general steps seem to be as follows:
- Render the background
- For each 3D view (up to 3)
- Clear the corresponding region on screen
- Draw bits of GUI around it
- Render opaque objects with ambient lighting
- For each direct light
- Render shapes do determine which regions are shadowed
- Render opaque objects with the light parameters
- Render decals with ambient lighting only
- Render opaque objects with fog attenuation
- Render special objects:
- Emissives
- Particle effects
- Transparents, with ambient lighting and direct lights
- Apply post-processes:
- Bloom
- Optional effects (night vision, heatmap)
- Grain noise
- Finalize the GUI
- Draw other GUI panels
- Draw the menu and mouse cursor
The mains steps can be visualized here:
You might already have noticed that objects are rendered many times: once for the ambient lighting, once per direct light and once for the fog. Some frames I've examined contained more than ten lights, so that ends up being a lot of geometry drawn. The main explanation is that DirectX9 was the first version of DirectX to introduce custom shaders on top of the fixed rendering pipeline. The shading capabilities were still very limited so developers had to rely on this kind of iterative approach to create more complex lighting and environment effects while staying in the limits of the API. Fortunately GPU are very good at rendering tons of triangles with basic shading, and the game has a few dedicated optimizations.
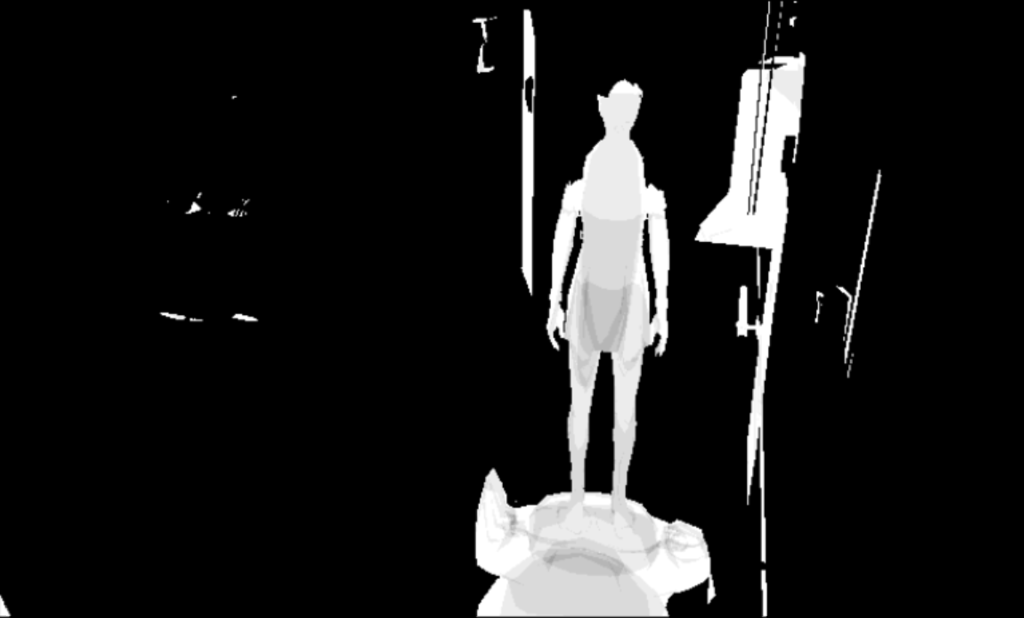
To alleviate the performance cost, the game culls geometry on the CPU to avoid rendering objects outside the field of view, and relies on occlusion queries from previous frames to help refine the list of visible objects[7]. This is efficient to reject objects that are in the field of view but are hidden behind a wall or another large object. Additionally, the depth buffer is filled with the objects depth during the initial ambient pass. Further geometry passes are using a 'depth equal' test, ensuring that any triangle that is hidden by another object won't run its pixel shader in these additional passes.
We'll now examine how one of the 3D views is rendered, focusing on the bottom right panel.
Rendering a view
Clearing and GUI
The viewport covered by the 3D view is cleared using the level ambient color. The depth buffer, used to determined which objects are in front of the others, is cleared at its maximal depth. The window frame GUI is rendered around the cleared region (but won't be visible here because of the cropping).
Ambient lighting
All visible opaque objects are rendered a first time, applying the ambient color tint on their texture. They also write to the depth buffer, which will optimize future passes as mentioned previously. This is where the environment lighting shaders are put to use.
Direct lighting
For each light all opaque objects in the radius of effect are rendered, with a shader specific to the type of light (one of the many direct light shaders). If the light is a projector, its texture is also used to modulate the lighting result. If a light casts shadows, a preparation pass is performed beforehand to determine if pixels visible on screen fall in the shadow or not.
Shadow rendering
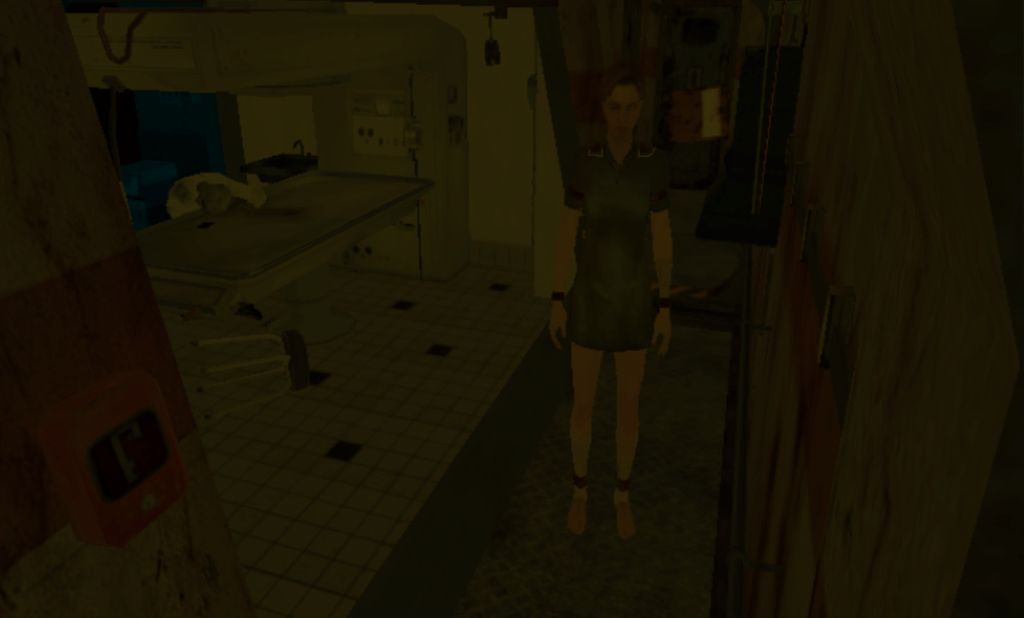
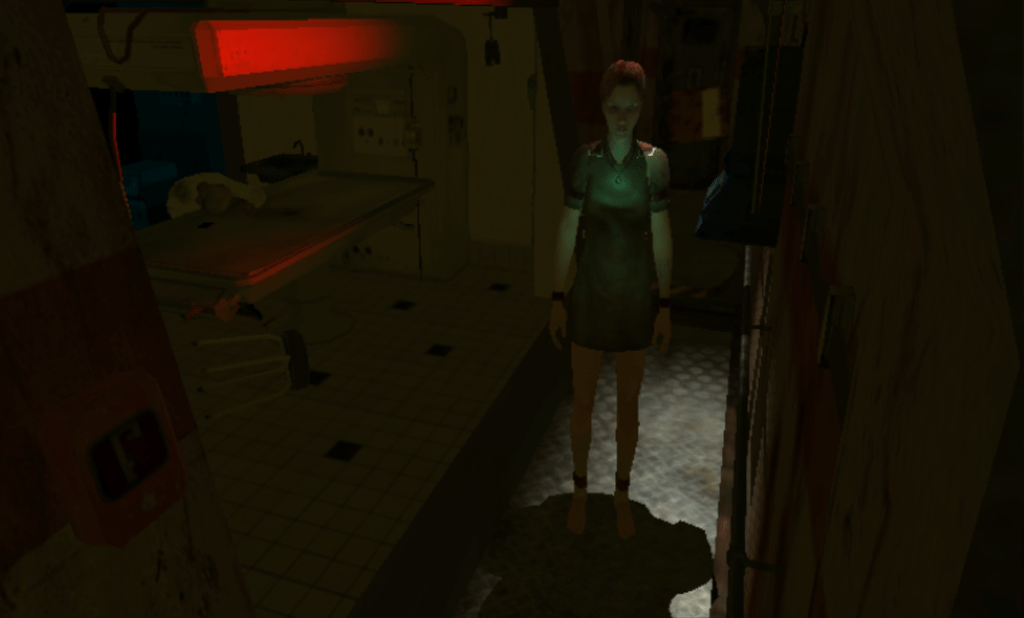
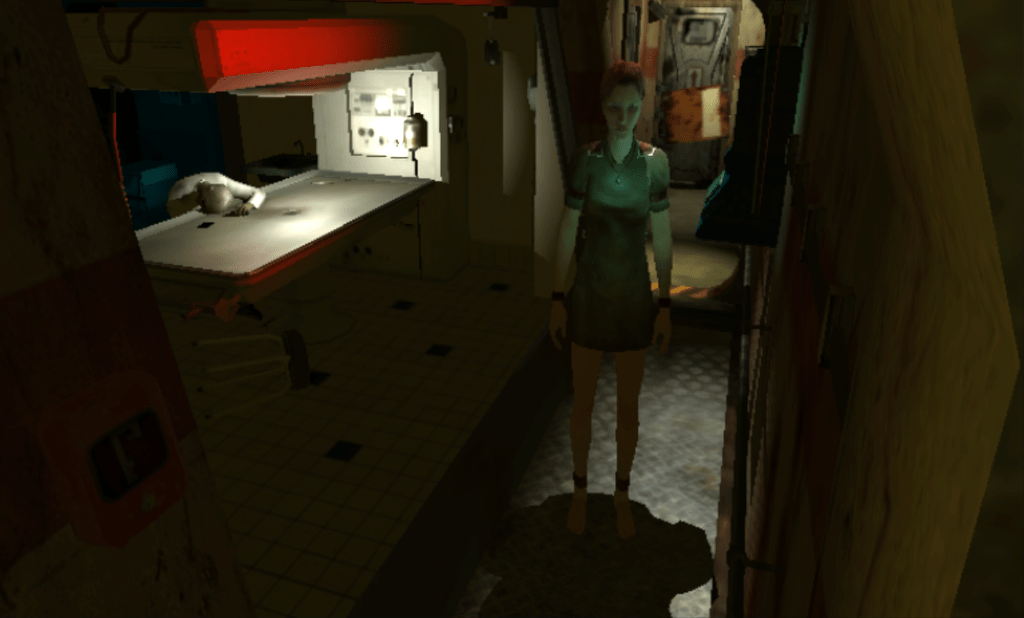
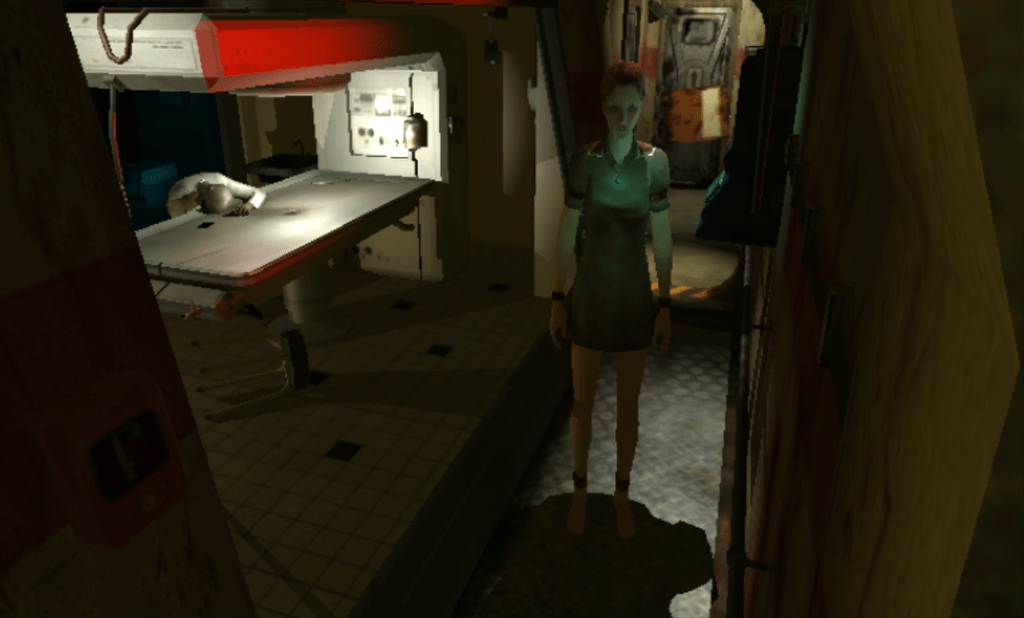
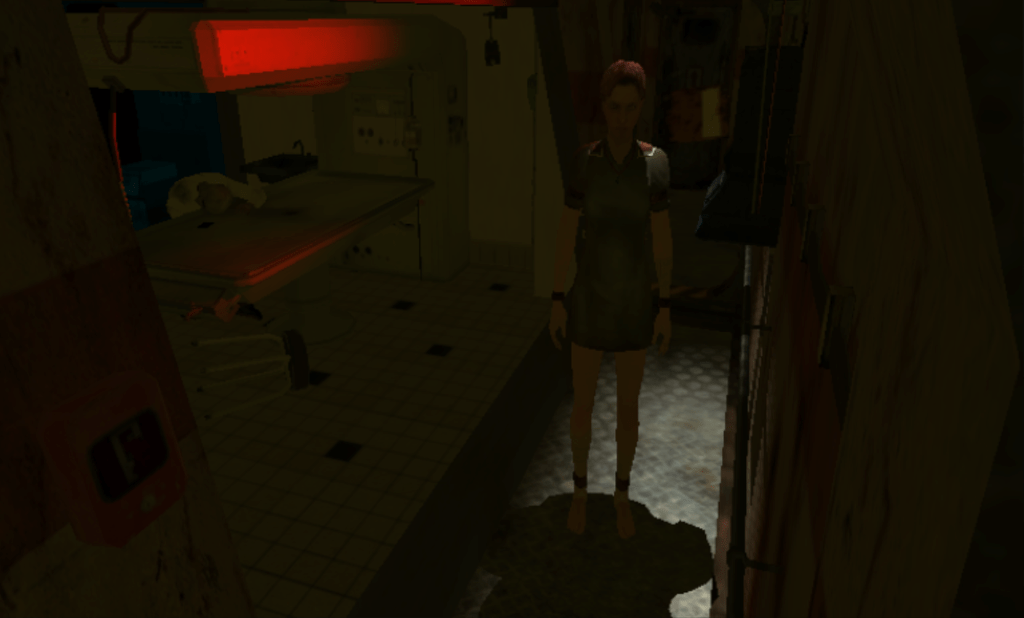
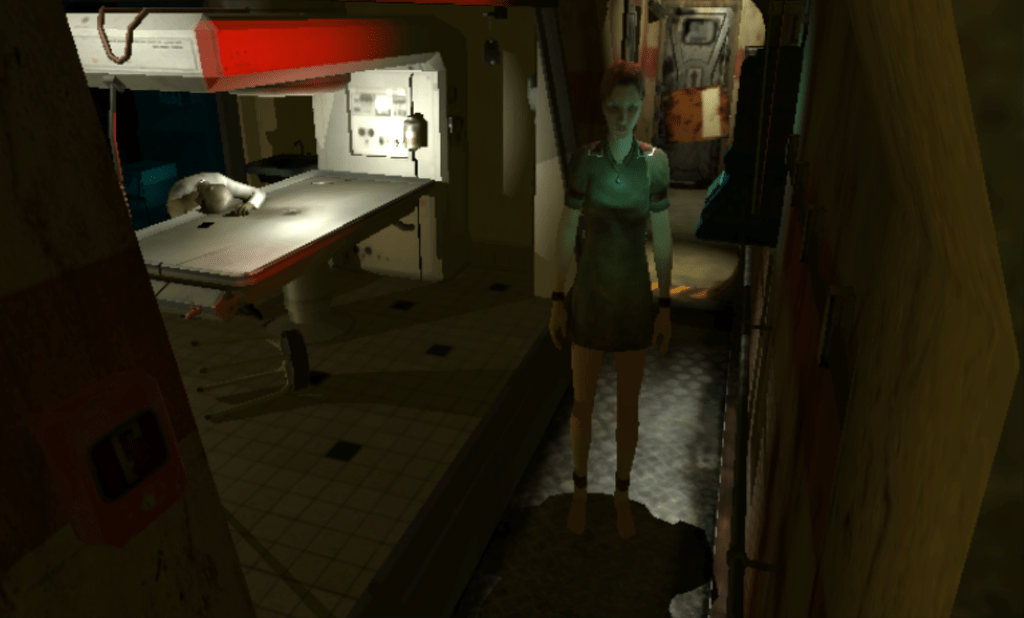
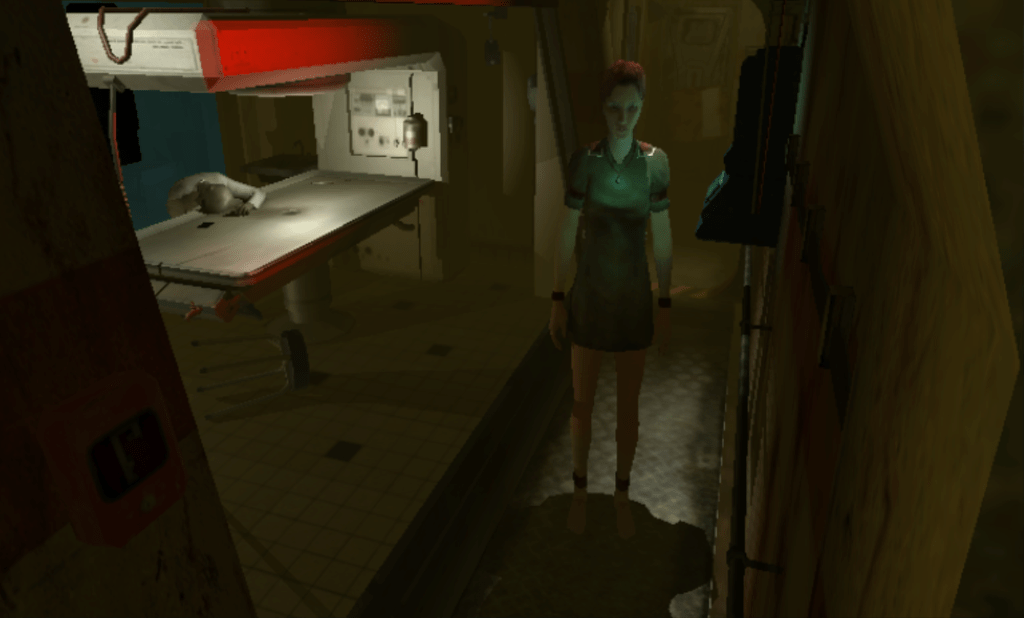
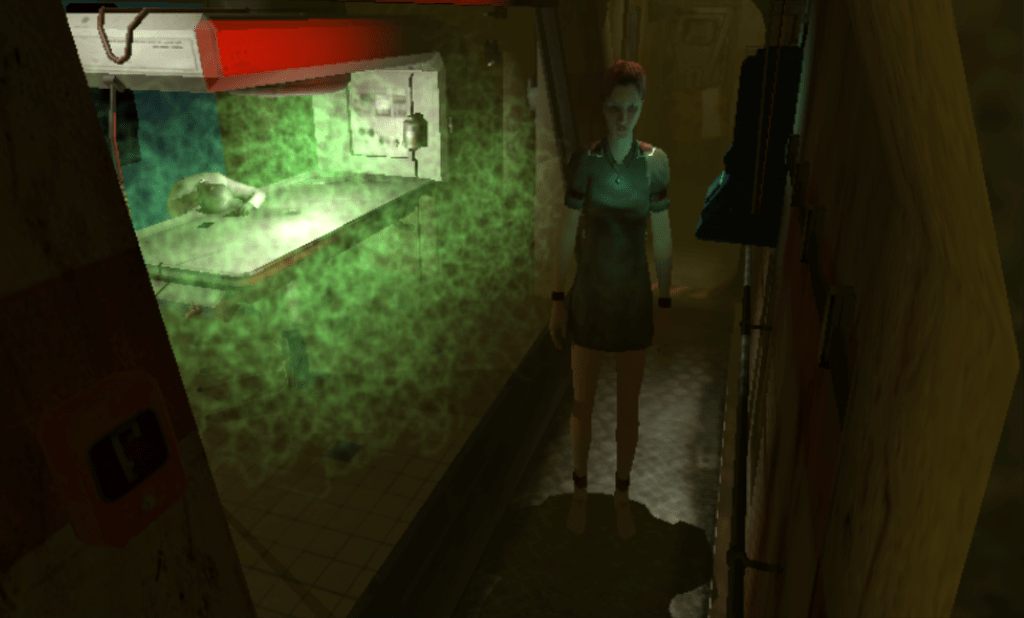
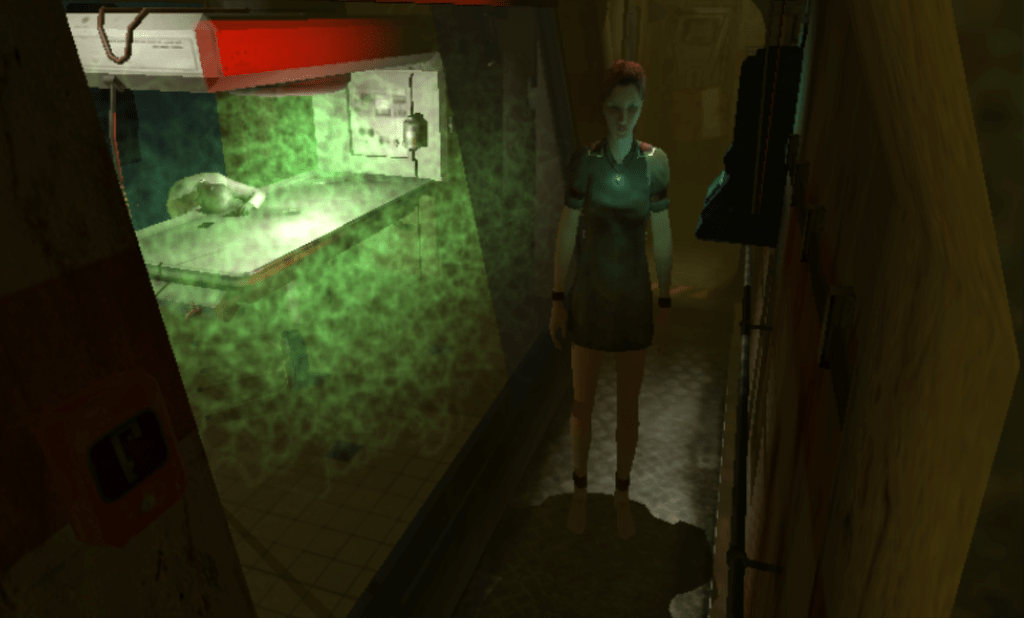
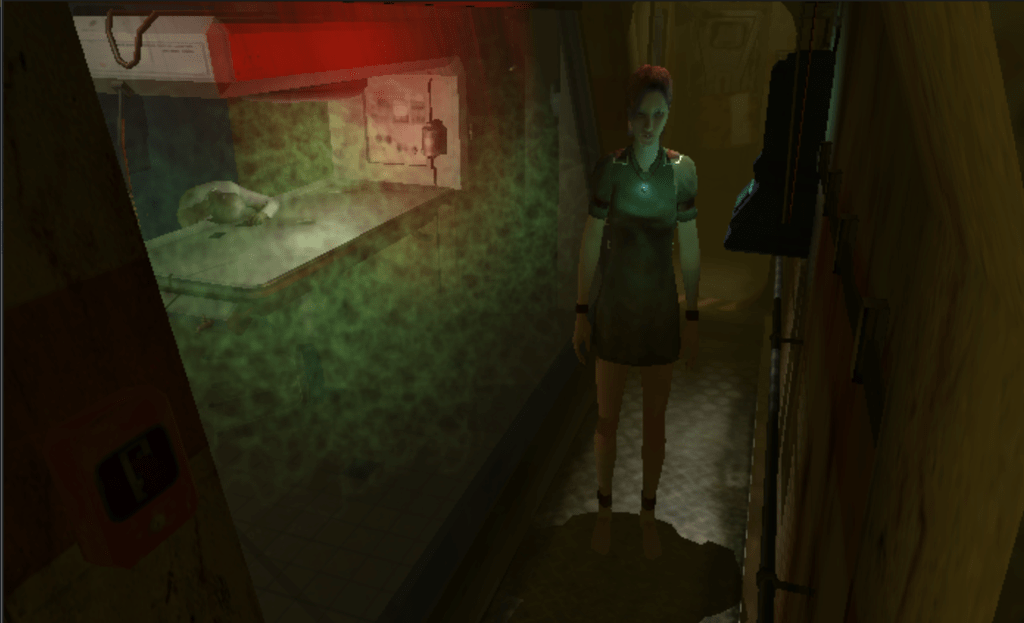
Let us consider one of the lights in the view, placed above the character and pointing downward.
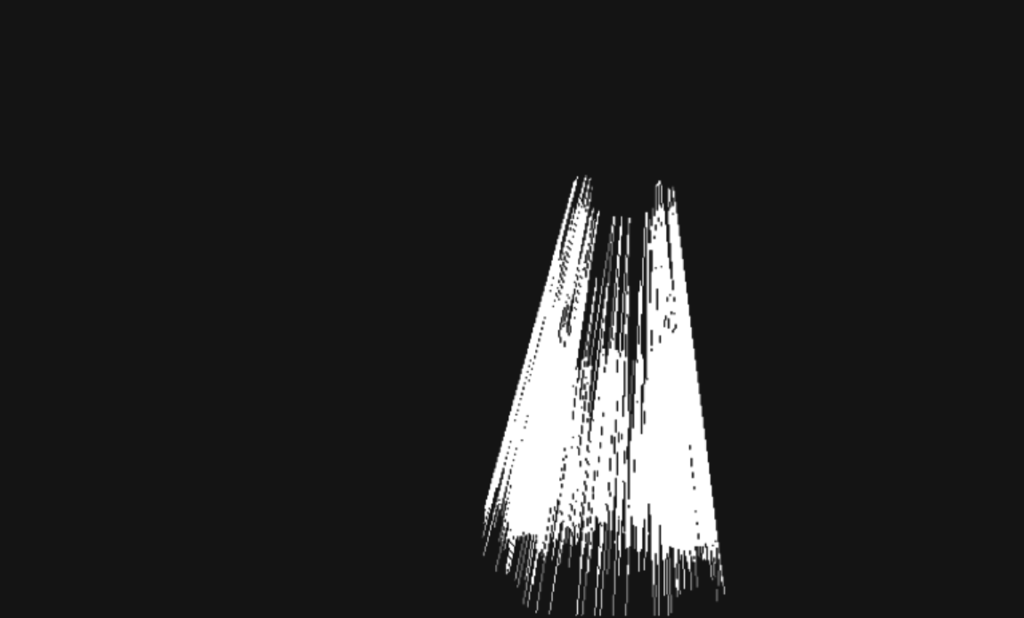
To know where the shadows should be applied, the developers rely on the shadow volume technique, popularized by Doom 3 and Silent Hill 2. GPU Gems has a good explanation of the overall method, but the general gist is as follows.
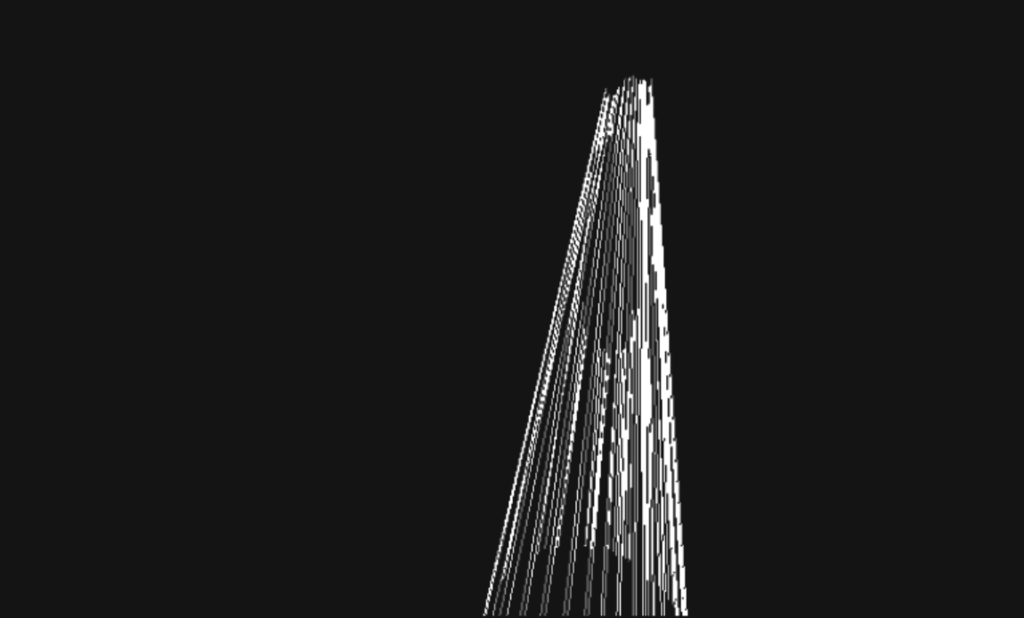
For the current light, objects that can cast shadows have their geometry silhouette projected 'away' from the light. These 'skirts' are called shadow volumes. For static objects they are probably precomputed and loaded from the disk, for dynamic objects and lights they are recomputed on-the-fly.
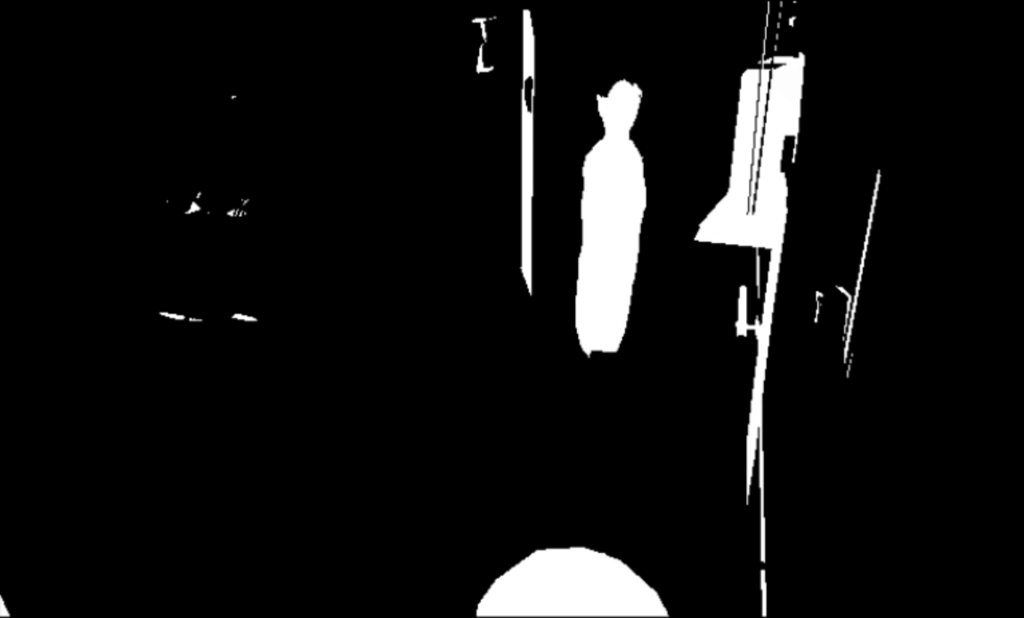
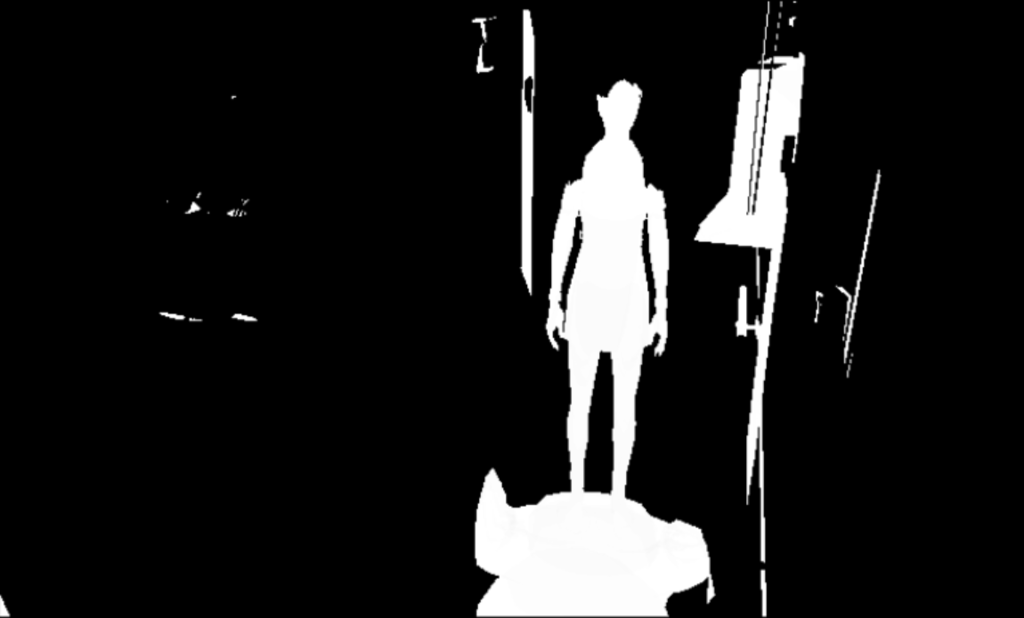
Every shadow volume is rendered in the stencil buffer (while testing against the existing objects depth), where each of its triangles covering a pixel toggles an associated counter. We can then determine if a pixel is shadowed or not by checking if the corresponding count in the stencil buffer is even or odd. This is equivalent to checking if a ray starting from the camera and going to the visible surface ends up inside or outside the shadow volumes delimited by the projected geometry.
The method delivers very clean and sharp shadows compared to shadow mapping (this can be seen in the image at the beginning of the subsection), but suffers from a few drawbacks related to the generation of the projected geometry, especially for animated objects.
Decals
Decals are thin layers of geometry that have no proper depth, but write over the current objects color to add details (rust, dirt,...) in corners. They only have ambient lighting applied to them.
Fog contribution
Each opaque object is then re-rendered once again to apply atmospheric fog. The formula used is an exponential height fog, computed with the help of two look-up tables. The fog helps a lot to tie all objects together and build the mood of the environment.
Special objects
Emissive objects (screens, light bulbs and LEDs,...) are then rendered, along with particle effects, whose geometry is generated on the CPU. Both are not receiving any lighting.
It is then the turn of transparents objects, that are rendered sorted back-to-front to ensure blending is correct. They are each drawn with ambient lighting, and some have additional render passes to accumulate the contribution of direct lights.
Post processing
Now that all objects have been rendered with their final lighting, the post-processing stack is applied. Passes in this section are going to apply visual effects to the whole view, using a large quad that covers everything.
Bloom
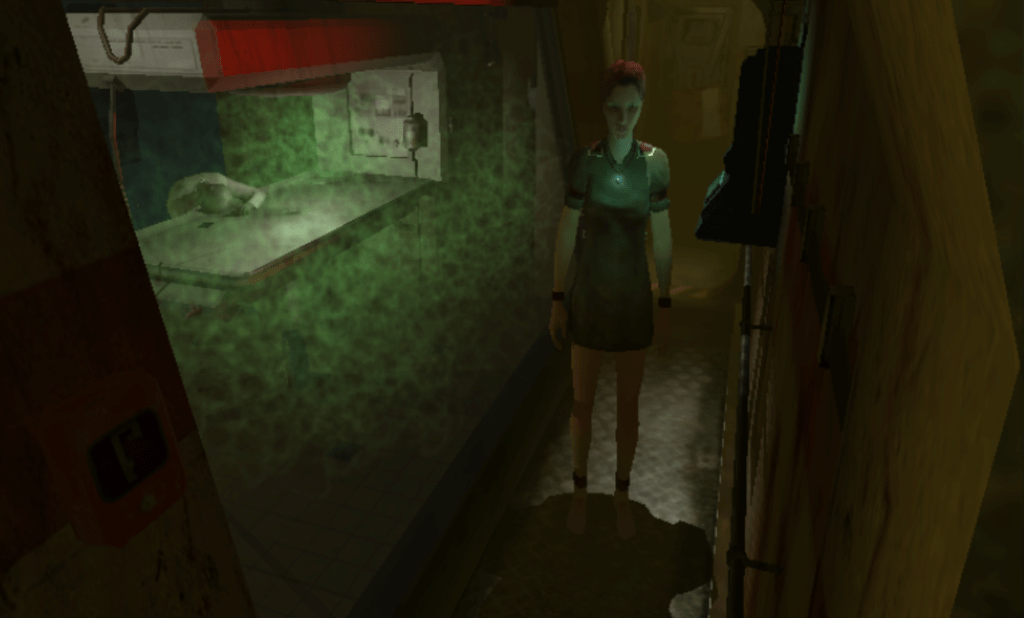
A bloom effect is generated using a classic Kawase blur. This mimics the glow that can appears around lights sources and bright surfaces, caused by the camera optics. The view is copied to an auxiliary texture, downscaled, then blurred in multiple passes that alternate between horizontal and vertical blurs.
This result is finally composited back on top of the view.
Optional effects
In another view (bottom left), this is where the night vision mode is applied. Once again the viewport is copied to a separate texture, used as an input to a fullscreen shader that overwrites the region in the initial render target while tinting the image.
Noise grain
The same approach is used again to add grainy noise to the image, for some extra 'surveillance camera' style.
GUI
Finally, additional user interface elements are overlaid on top of the final rendering. Their geometry is generated on-the-fly on the CPU; they are mostly quads with different textures applied to them. The texts are rendered in the same fashion.
After that, the game moves to the next 3D view, or to the user interface panels. When views are overlapping, the bottom one is rendered first and partially overwritten. Once everything is done, the result is displayed on screen and we move to the next frame.
Conclusion
This completes our tour of the data and rendering pipeline of eXperience 112. We have collected quite a lot of information that helped understand how we can load and render the game levels ourselves. This is a great opportunity to test recent techniques (GPU culling, clustered lighting) and a recent API (Vulkan) on existing game data, and see if we can recreate the original look of the game accurately. I'm planning a second writeup in the future detailing how I tackled this next part of the project. As a spoiler, the code is already available.
-
Published in North America under the title The Experiment. ↩
-
Vertex shaders are transforming input vertices to place triangles on the screen, and pixel shaders are computing the color of each pixel belonging to a triangle for a given object. ↩
-
Simplified level geometry that defines where the player can go or not, useful for the physics and entities AIs among other things. ↩
-
This was a whole other adventure, started specifically for this post. The main issue with apitrace is that it captures a full run of the program from its launch, and replays it every time you want to visualize a draw call, a texture, or any other GPU state. When getting in game takes more than 30 seconds, it becomes inconvenient. So I wrote a first tool to extract one frame from an apitrace trace, generating a much thinner trace with a few initial frames of setup and the extracted frame at the end. Apitrace supports this for other APIs, but not DirectX9 (I'm guessing feature requests for older APIs are not frequent). This new trace can be opened in the apitrace viewer, but not all the info I wanted was displayed... So I wrote a second tool to replay the trace function calls, with a bit of GUI on top to visualize all GPU state, input textures and geometry, output targets, the depth/stencil buffer, etc. Along the way I've stumbled on a bug in the game code that was sending apitrace awry but was working without issue on a real DirectX9 driver. Code available here. ↩
-
Occlusion queries are a mechanism where the program can ask the GPU driver if a draw call has indeed written some pixels on screen, or if all its geometry was discarded because of depth testing/frustum rejection/alpha testing. Getting this information back from the GPU incurs a delay, but in this game camera motions are quite limited so you can confidently reuse information from previous frames with a bit of extra care. ↩
